The Nintendo 64 Renaissance

The Nintendo 64 marked its 30th birthday this past June, and yet despite its age, work on the platform has seen a resurgence over the last decade. The N64’s passionate fan community of software developers, hardware hackers, and reverse engineers have made improvements to many aspects of the system. They’ve added digital video output, flash-based cartridges, new and improved emulators, modern development toolchains, complete console hardware reimplementations (plural!), and whole new games. Much of their work is also being done in an open-source fashion. I, along with contributions from others, have been attempting to catalog these advancements at n64.dev, but with the current state of things moving so quickly, it can be hard to keep up. So, as of this post, here is a big picture of where development on the N64 stands right now.
Digital Video
Video output on the N64 is analog composite (the yellow RCA connector), which produces a smeary and low-resolution picture by today’s high-def standards. CRT TVs also display input imperfectly, with interlaced scan-lines, phosphor persistence, and so on. Developers often took advantage of these limitations by making deliberate artistic choices that looked good on TVs of the time. However, modern TVs largely1 show the exact signal provided, and upscaling composite video to an HDTV exposes all the previously concealed flaws.
Various RGB mods mods have been available for some time which let you extract RGB video from the N64. While still analog, RGB video is clearer than composite by virtue of spreading picture information across three signal lines instead of one.
Better still, there have also been a series of mods that tap into the digital video lines on the N64 motherboard and then convert the signals to HDMI. UltraHDMI, 64HD, N64Digital, and most recently (and most-available), the PixelFX Retro GEM, all produce HDMI video output directly from the N64’s graphics chip, entirely bypassing the analog conversion step, while still offering scaling and interlacing modes to mimic the look of CRTs. Installation can be tricky because of the fine pitch of the solder points involved, but having a built-in HDMI port on a classic console is convenient for playing and capturing, and the video output looks as good as it possibly can because of the minimal amount of conversion steps involved.
Open Hardware
For years, running your own code on physical N64 hardware meant having to get your hands on a development kit or one of several rare-ish ROM backup devices like a Doctor V64 or Mr. Backup Z642, or making do with a parallel port equipped GameShark cartridge. None of the methods are particularly available (short of lucking out on eBay) or easy to set up, and some depend on legacy PC hardware like ISA cards, SCSI cables, and the like.
Later, the 64drive and EverDrive 64 (both closed-source flash cartridges) made it possible to load ROMs from an SD card. The 64drive and several of the EverDrive 64 models offer a USB port that supports uploading ROMs and booting them without having to physically move an SD card between machines, vastly shortening development and testing turnaround time. USB support enables a workflow where you can compile, upload, and boot a ROM on a console in seconds, and shortening that turnaround time makes homebrew development far less burdensome.
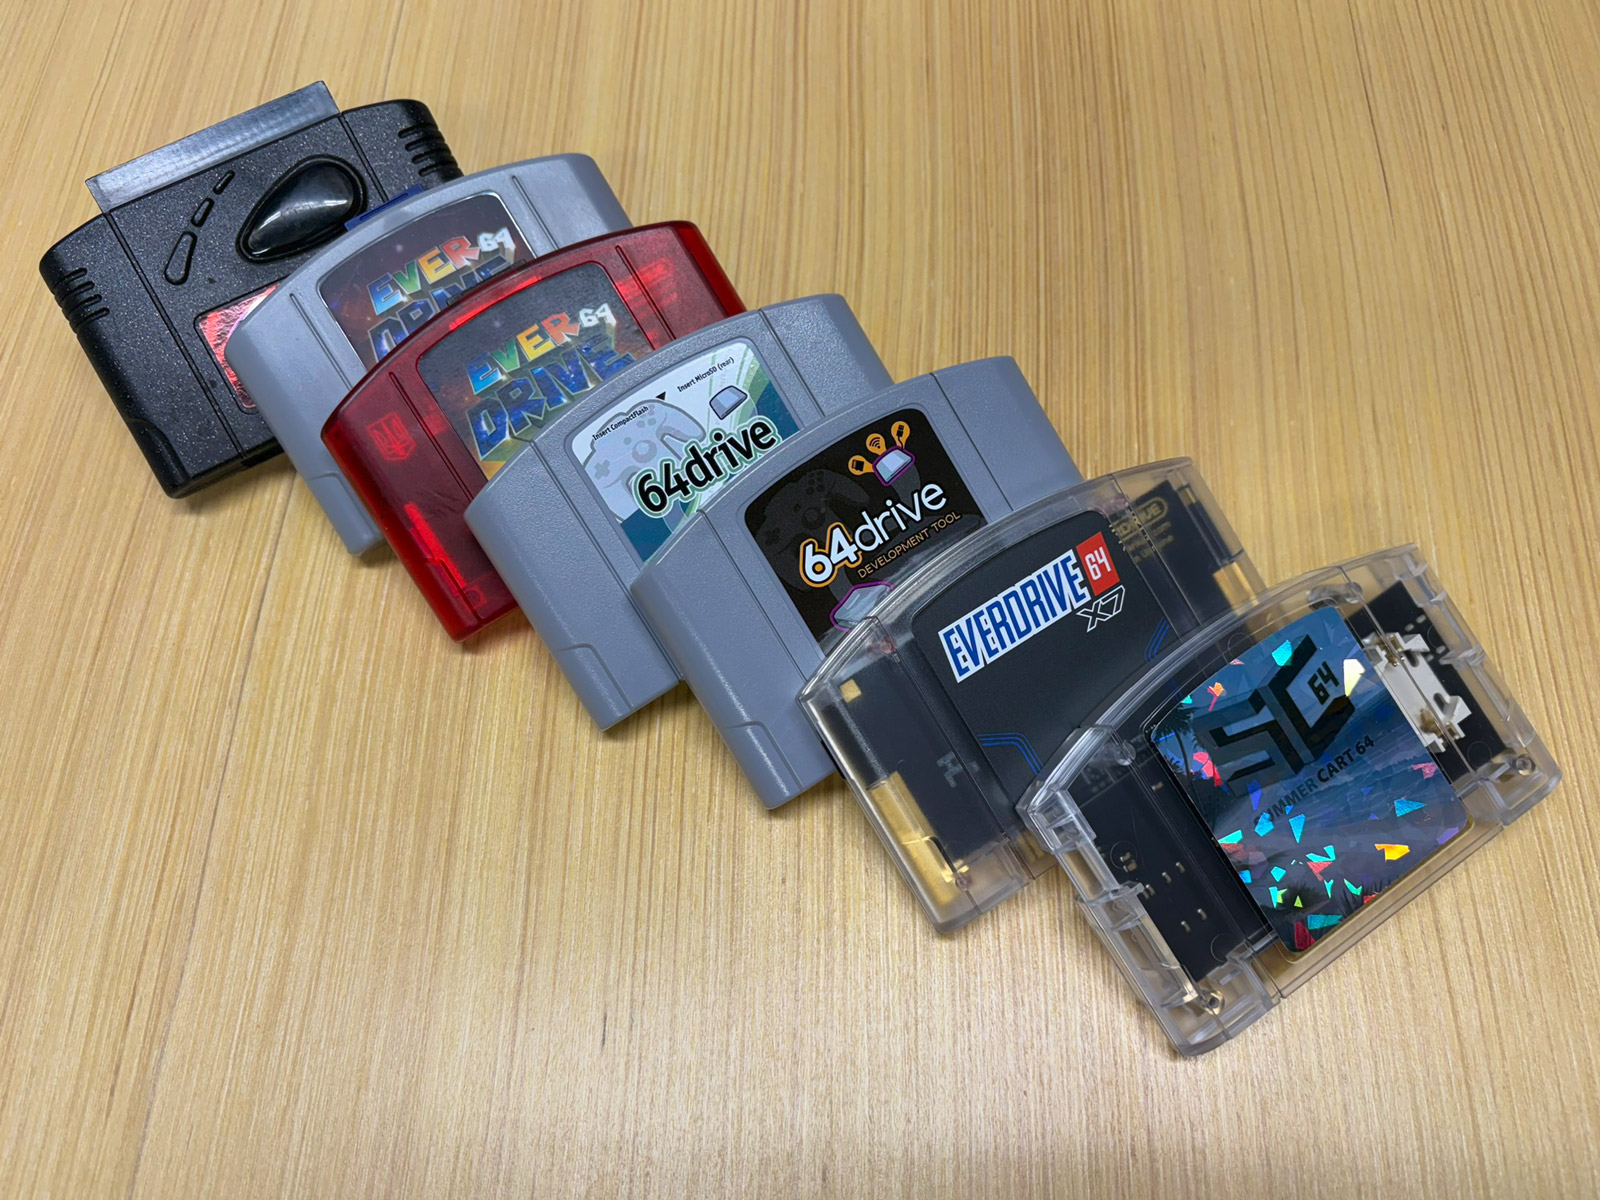
Both are fine options, but there is now a fully open competitor in the SummerCart64 flash cartridge. The SummerCart64 is open hardware and open firmware from top to bottom. It loads ROMs from microSD or USB-C, writes game saves to the card, and can even emulate the 64DD add-on that was only ever released in Japan. You can order a SummerCart64 board using the available manufacturing files or buy one pre-built for around $100. The SummerCart64 is currently the recommended way to run in-development ROMs on a console, and the community has focused software efforts on making this path a straightforward one.
Hardware Reimplementations
Besides cartridges, the console itself is being reimplemented too. An FPGA is a type of low-level programmable chip that lets you define its digital logic with a hardware description language. By painstakingly reverse engineering a console like the N64, sometimes involving chip decapping and a microscope, it’s possible to re-implement chips feature-for-feature (and sometimes critically, bug-for-bug) in an FPGA. This approach is still technically emulation, but in a wildly different sense (and far “closer to the metal”) than typical software emulation.
The MiSTer FPGA project shipped an official N64 “core” in 2024, and it plays most of the retail library. The MiSTer DE10-Nano board can be purchased for about $200 and can be loaded with FPGA cores that implement quite a number of consoles and arcade machines.
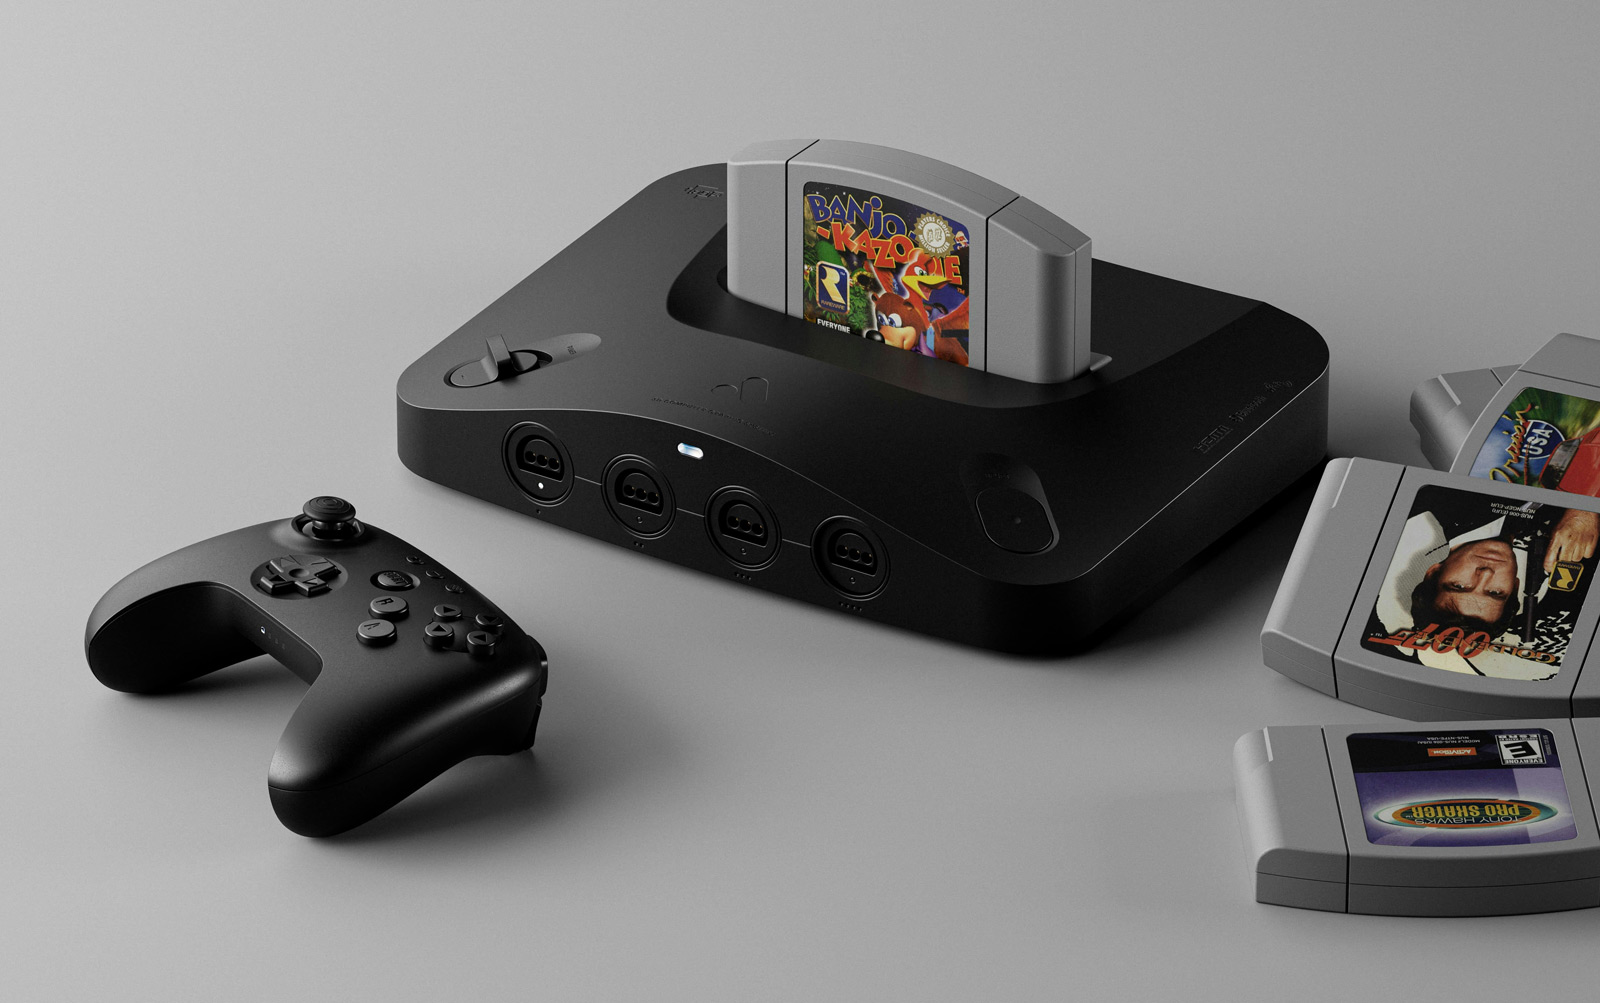
Then, in November of last year, Analogue shipped the Analogue 3D, an independent FPGA reimplementation of the N64 that outputs 4K over HDMI, plays original cartridges of course, supports Bluetooth controllers, and ships in a slim N64-inspired enclosure.
There’s even a third N64 FPGA implementation, the ModRetro M64 that just recently started shipping. Though this implementation shares history with the MiSTer core, it targets a more recent FPGA platform and offers accuracy improvements and features not available with the MiSTer.
While it’s possible to do repair and maintenance on original N64 consoles to extend their lifespan, these FPGA projects go a long way towards ensuring that hardware continuing to age out isn’t the end of our ability to play games on and develop for N64 hardware.
Emulation
Early on, the N64 emulator story was pretty rough. Initial N64 emulators were built using high-level emulation, often requiring per-game workarounds and plugin mixing-and-matching to make them work well. As a result, they were only able to run a subset of commercial games. In the first few years of the 2000s when the N64 was still fairly new, people mostly just wanted to be able to play a handful of N64 games on PCs, and those initial emulators met the demand. High-level emulation allowed that to happen fairly quickly, even though there were plenty of rough edges and shortcomings.
cen64 took the opposite approach, using cycle-accurate CPU emulation, which came at the cost of speed. Achieving cycle-accurate emulation is perhaps surprisingly computationally intensive, even for 2D systems older than the N64. Ideally cen64 would achieve both goals, but accurate low-level emulation took priority over performance. For a while, cen64 held the ideals of the scene rather than being a practical tool for real-time testing.
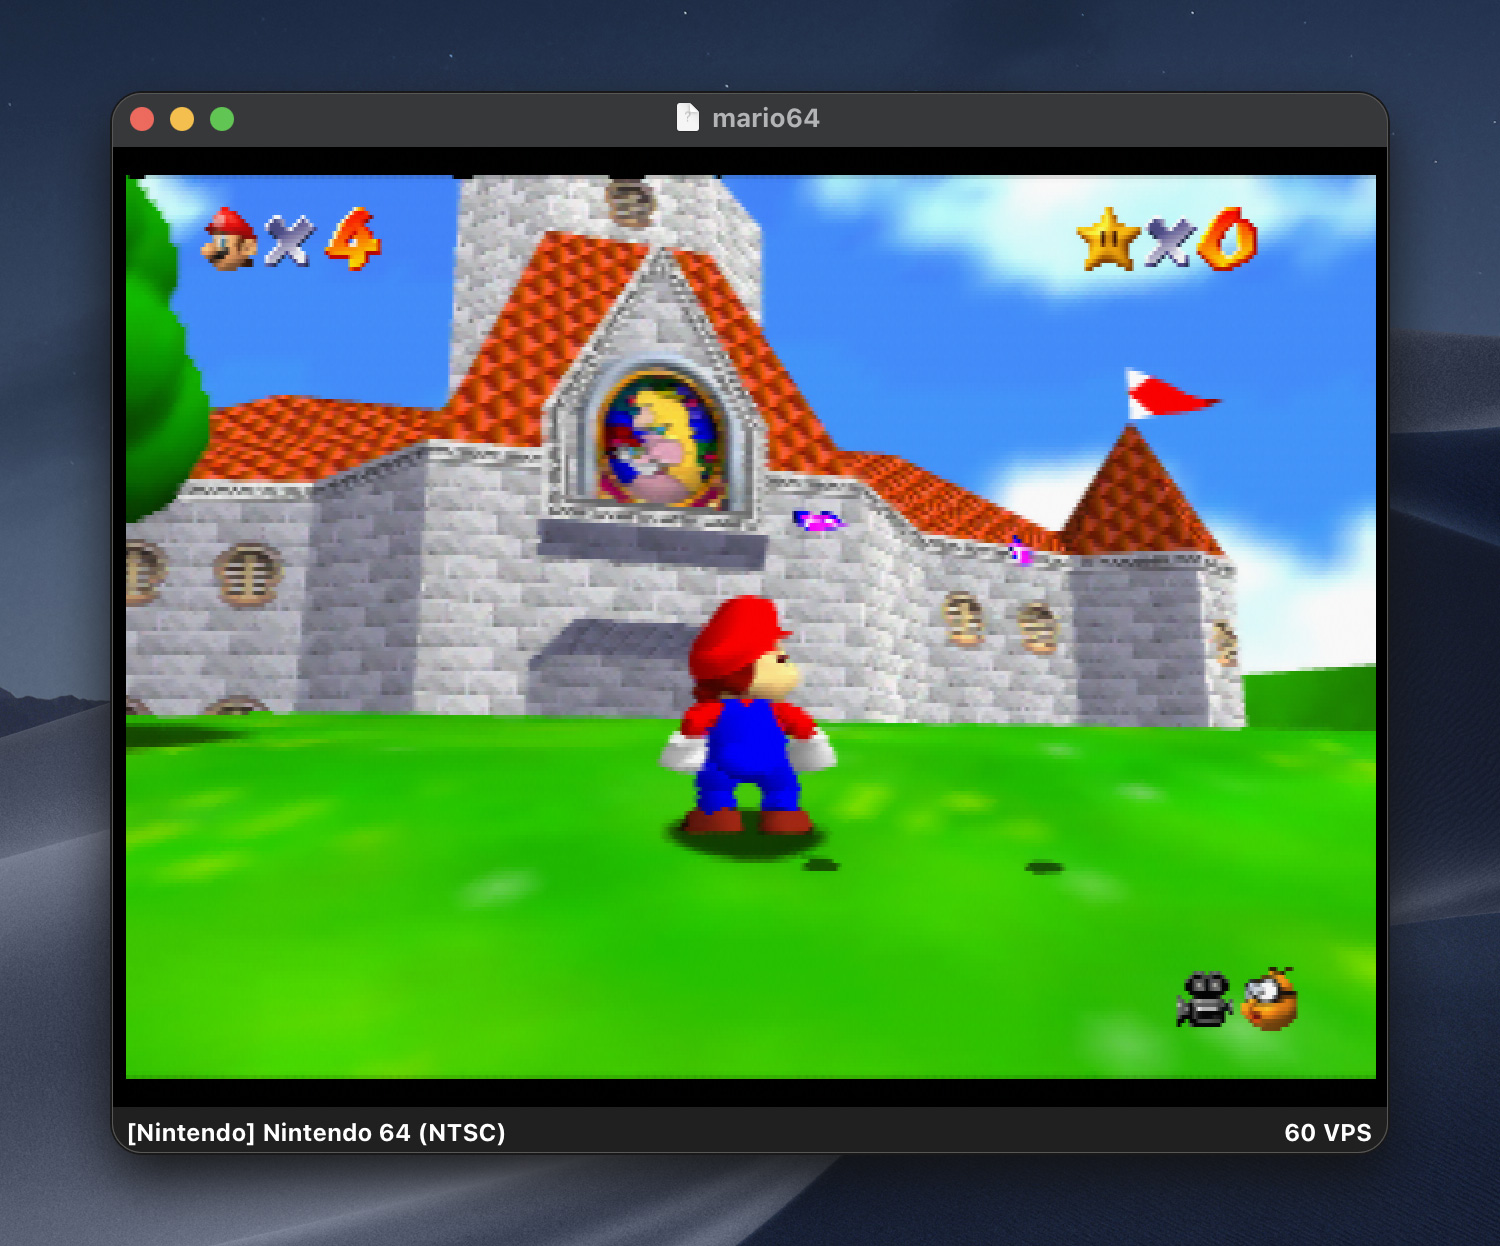
The torch of accurate emulation has since passed to ares, a multi-system emulator descended from Near’s higan emulator. ares is accurate enough that the libdragon project recommends developing against it with the expectation that your ROM will then work on real hardware. It even has a homebrew development mode that adds extra correctness checks. More recently, gopher64, a newer emulator written in Rust, has joined it in libdragon’s recommended list, with gopher64 being more oriented towards performance in playing. cen64, ares, and gopher64 attempt to emulate the actual hardware rather than “just” passing drawing calls through to modern graphics libraries.
Toolchain Without Nintendo
Modern N64 development is generally centered around libdragon, an open source SDK that has become a complete replacement for Nintendo’s libultra (which shipped with their official SDK). The current version is built on a modern version of GCC, providing a full C11 environment with a 64-bit capable toolchain. Setup can be done via a Docker container, and builds are typically done with a plain Makefile. For deployment, you can use USB to connect to a flash cartridge, perhaps a SummerCart 64. Combined with a supporting USB loading tool like UNFLoader, a development ROM can stream logs back to the host machine as well, giving you an avenue for development feedback that, in the past, required an official or semi-official development kit and associated PC hardware.
The graphics options are similarly modern. libdragon includes a full OpenGL 1.1 port (well, “modern” for N64 standards, anyway) running on a custom RSP microcode, and the third-party Tiny3D library provides a faster native pipeline written from scratch. libdragon and Tiny3D both import models from Blender via the common glTF format and support skeletal animation (as opposed to the sausage-link style of animation seen in Super Mario 64). There’s also RSP microcode accelerated MPEG1 and H.264 video decode support, Opus audio playback, and a TrueType text engine.
In addition to the tools that ship with libdragon, lots of smaller, purpose-specific tools have been published to assist with development tasks like converting meshes and textures between authoring and run-time formats, audio sequencing, compression, and debugging.
More recently, Pyrite64, also from Tiny3D’s creator, wraps libdragon and Tiny3D in a Unity-style visual editor and runtime engine. It has scene management, an asset pipeline, and a node graph for scripting, and more, all on top of the same C toolchain underneath. It’s still early and requires accurate emulation (again, ares or gopher64) for testing in software, but it provides a lower barrier to entry than writing a game loop from scratch.
Running the ROM of a real cartridge on the N64 requires some initial setup code that’s verified by the console, with the participation by the CIC. The CIC is a security chip from Nintendo included inside commercial cartridges. A progressively-verified boot process brings up the environment before a game can start, with two stages, IPL1 and IPL2, built in the console itself and a final stage, IPL3, in every cartridge ROM. The stage built into ROMs was supplied by Nintendo as part of the official N64 SDK. Homebrew ROMs historically re-used Nintendo’s IPL3 even if they used an open-source library like libdragon further down the pipeline. After much reverse engineering, an open source IPL3 reimplementation was made available, making the entire ROM boot chain able to be free of proprietary code3.
While programming in C is still the typical language for N64 games, it’s now possible to build in other languages as well. Under Rust, there’s support via nust64, which requires a Rust nightly build. On the Go side, Embedded Go supports the N64 as a target and is distributed as an installable Go toolchain. Neither ecosystem is near as complete or well-trod as the C path, but the fact that they exist and work at all is incredible, given that neither existed until many years after the N64’s release. The traditional MIPS assembly route remains available for those who enjoy artisanal suffering.
Game Reverse Engineering
Running alongside the homebrew scene is the reverse-engineering scene, and the two often feed each other. Matching decompilation projects, which aim to reproduce a byte-identical ROM from reconstructed C source, started with Super Mario 64 (of course) and have since worked through Ocarina of Time, Majora’s Mask, Perfect Dark, Mario Kart 64, Banjo-Kazooie, GoldenEye 007, and others in varying states of completion. Those codebases enabled native PC ports like Ship of Harkinian for Ocarina of Time and the Perfect Dark port with its improved framerates and mouse-and-keyboard controls.
Full, accurate decompilation takes years per game, though, which is what makes N64Recomp an interesting project. This tool mechanically translates a ROM’s N64 MIPS code into (difficult to understand) C, which is then compiled natively for modern platforms. This avoids the need to fully understand and decompile the game to readable C before targeting other platforms. Zelda 64: Recompiled shipped Majora’s Mask this way, with widescreen, high framerates, and gyroscopic aim, and it runs quite well. Since then, a modding framework has been developed that lets modders replace models, scenes, and code in recompiled games without traditional ROM-hacking constraints, and more recomp projects have been appearing, including Dr. Mario 64, Star Fox 64, and the never-released Dinosaur Planet. As with the decomps, you must supply your own ROM to start with, since no Nintendo IP can be distributed.
Reverse engineering existing games offers homebrew developers a better understanding of how commercial games used the hardware, and the tooling built for it sometimes even reused directly. For example, Fast64, a Blender plugin used to export N64 display lists and assets, started as an export utility for Super Mario 64 and now supports both decompilation work and homebrew output from the same codebase. Kaze Emanuar’s Super Mario 64 improvements build on top of the decompiled source rather than starting from a disassembly, since that source is now the shared starting point for anyone doing work on the game.
Pushing The Limits
The most fun corner of all this is watching people run the N64 far past what anyone managed in the ’90s. As mentioned earlier, Kaze Emanuar has spent years rewriting Super Mario 64 for performance, getting stable 60 fps on real hardware while pushing something like ten times the level geometry of the original game. Beyond updates to existing games, demoscene-style experiments have achieved a complete ROM in 4KB, very high texture detail, HDR and bloom effects, normal mapping, cel shading, and experimental VR support. A standout from a recent game jam, Junk Runner 64, is a cool open-world game with incredible draw distance.
Years of accumulated knowledge have been built up since the release of the N64, and there’s now a quite solid toolchain that lets you write games and even custom RSP microcode without having to deal with a period SGI Indy workstation or obscure development hardware. Though a few games did push the N64 pretty hard (looking at you, Perfect Dark), people are only just now seeing what the console is really capable of. It of course has its hard limits, but it’s cool to see people wring ever more performance and capability out of a such a unique target.
The Community
Much of this activity converges on the N64brew community wiki and its very active Discord, which has run an annual game jam since 2020. The game jams have had various themes, one of which was a collaborative minigame collection in which all the submissions were built into a single ROM. The most recent jam drew dozens of submissions, more than any previous year. Game jam entries are where the toolchain (typically libdragon) gets battle-tested, and several have grown into full releases. A small physical publishing scene is even starting to form around them too, shipping newly created games on actual cartridges. I’m awaiting my copy of Junk Runner 64 as I write this.
It took a few decades, but the N64 finally has modern and reliable tools, good documentation, affordable and readily available development hardware, and a community that actively welcomes newcomers. The result is the healthiest development scene the console has ever had. If you want to poke at it yourself, the N64brew Getting Started guide, libdragon, and a copy of ares will have you rendering triangles in an afternoon, and with a SummerCart64, you can watch your own code boot on an original or FPGA N64. Off we go!
-
Well, for the most part. Features like Motion Smoothing and other processing effects change the appearance of content bound for display on modern TVs. ↩
-
Hence the commonly-encountered
.v64and.z64ROM format filename extensions. The formats’ endianness differ, but the community has settled on using.z64, the N64’s native big-endian format, eschewing the other formats to encourage standardization after decades of dealing with mixups and byte-swapping code. ↩ -
Flash cartridges typically circumvent this process and allow any ROM, official or otherwise, to execute by computing and then having its phony CIC implementation approve that very same ROM checksum at runtime. Modern console copy protection schemes are far more rigorous. ↩

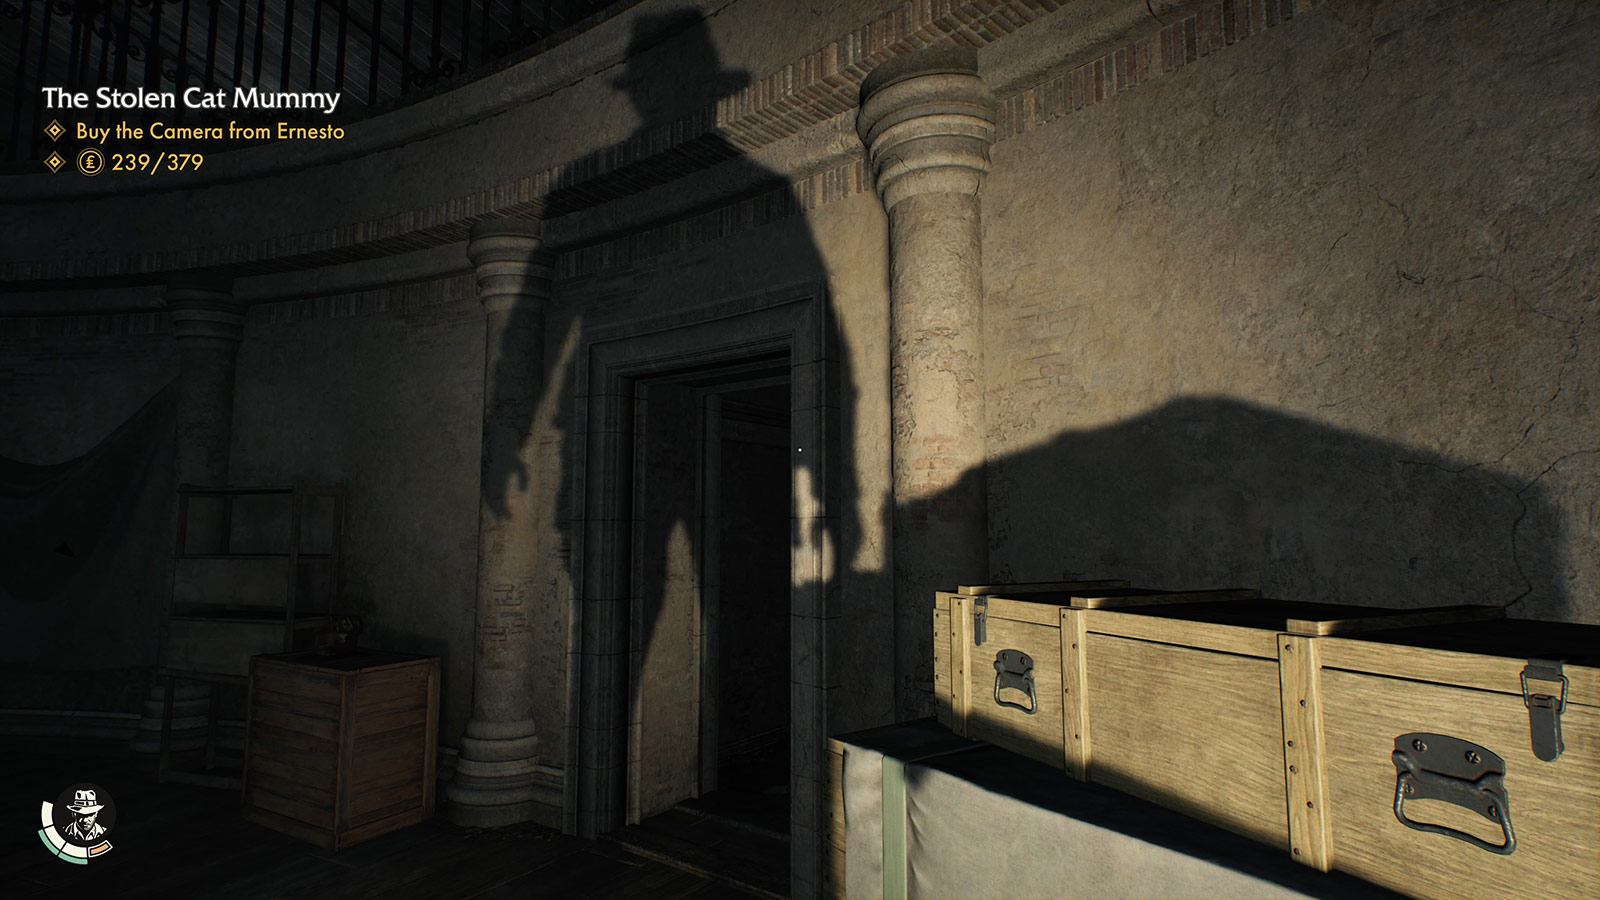 Carefully placed spotlights and torches regularly cast Indy’s recognizable shadow.
 Light reveals Indy’s eyes when he’s making a connection or solving a puzzle.
 Just marvel at the level of detail achieved here: The fine individual hair, the wear on the seams of the leather jacket, the distressed fur felt on the fedora, and the specular highlights on the sclera of the eyes.
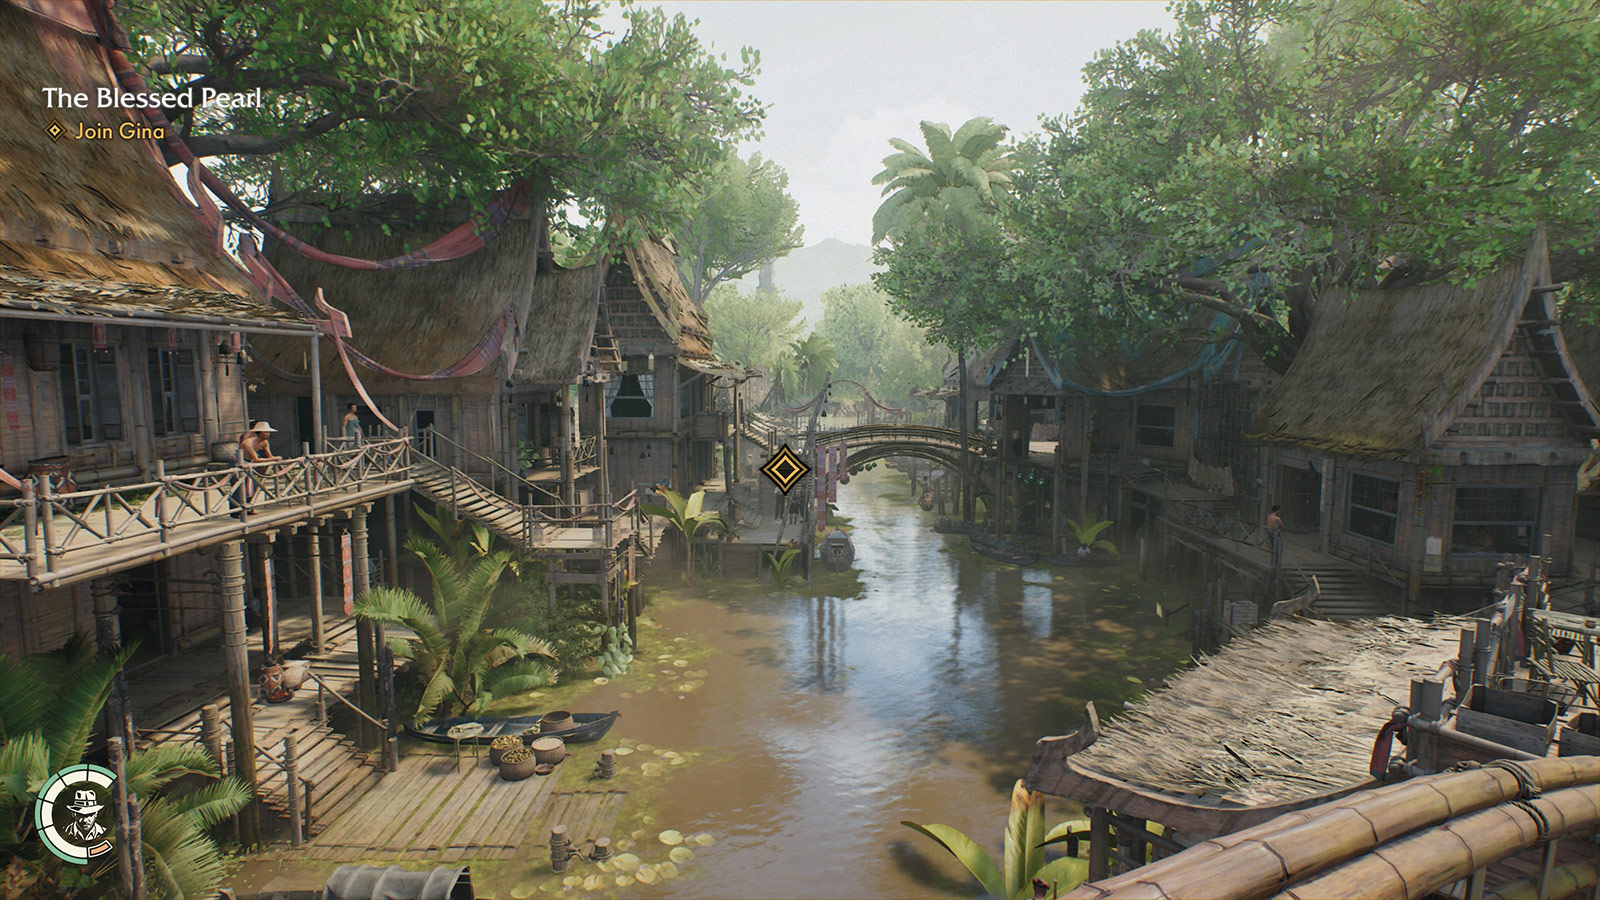 Every region has loads to explore, little sub-plots to follow, and NPCs going about their business. Some casually relay details or hints towards as-yet-unsolved puzzles.
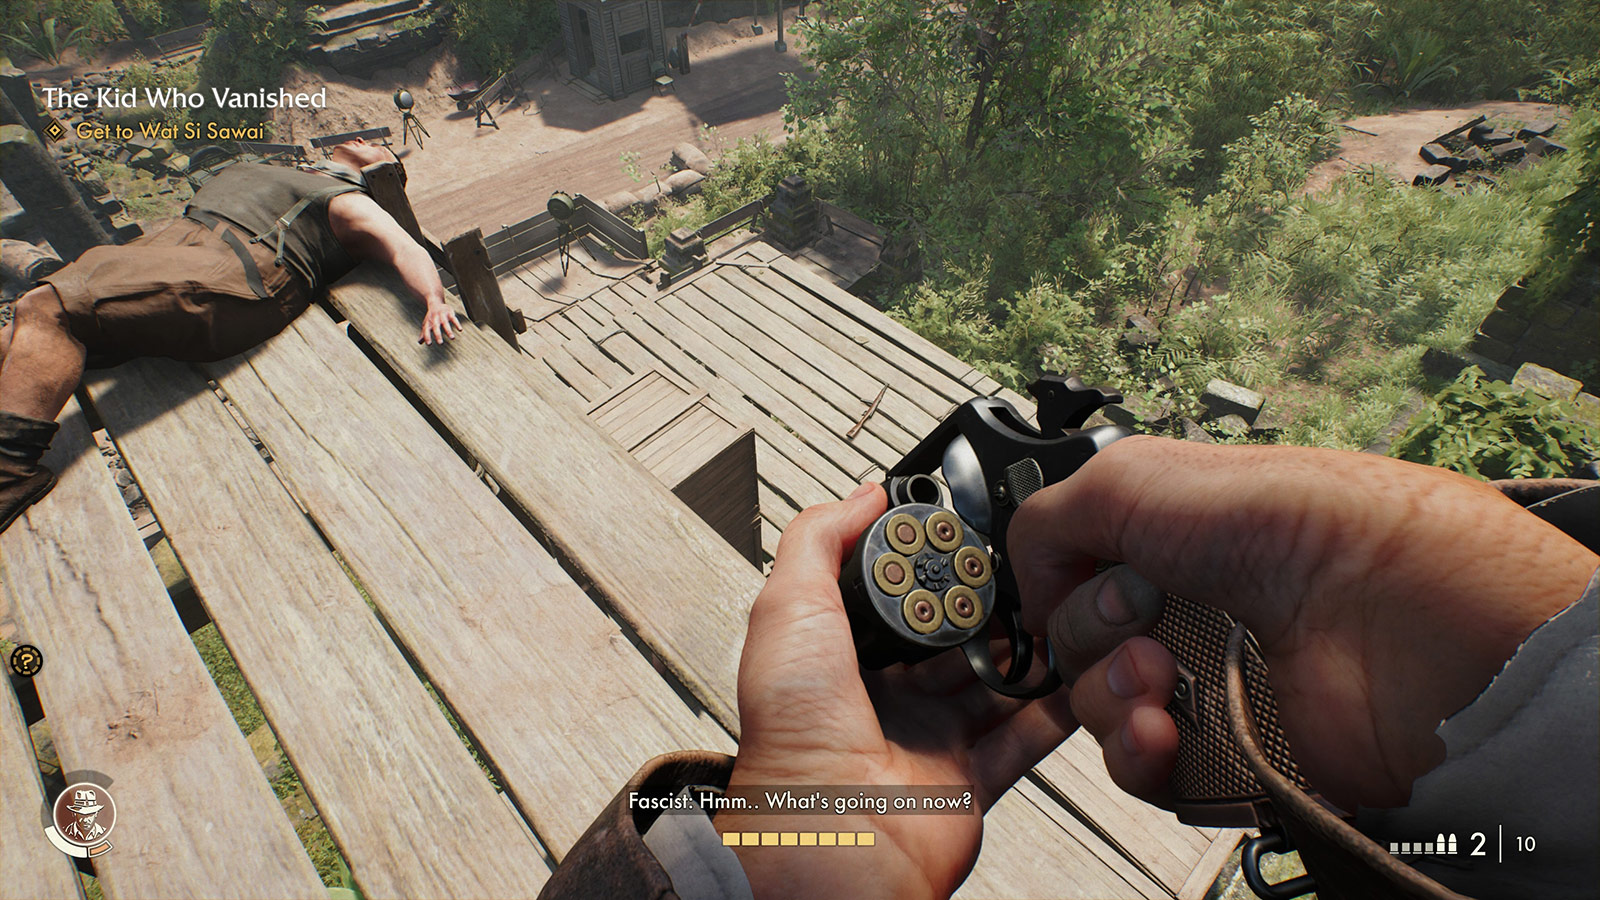 Attention to detail is everywhere in this game. Here, the number of remaining shots in the heads-up display corresponds to the number of visibly unfired rounds in the revolver. The reload animation has Indy individually pluck out spent rounds and replace them, rotating the cylinder for each.
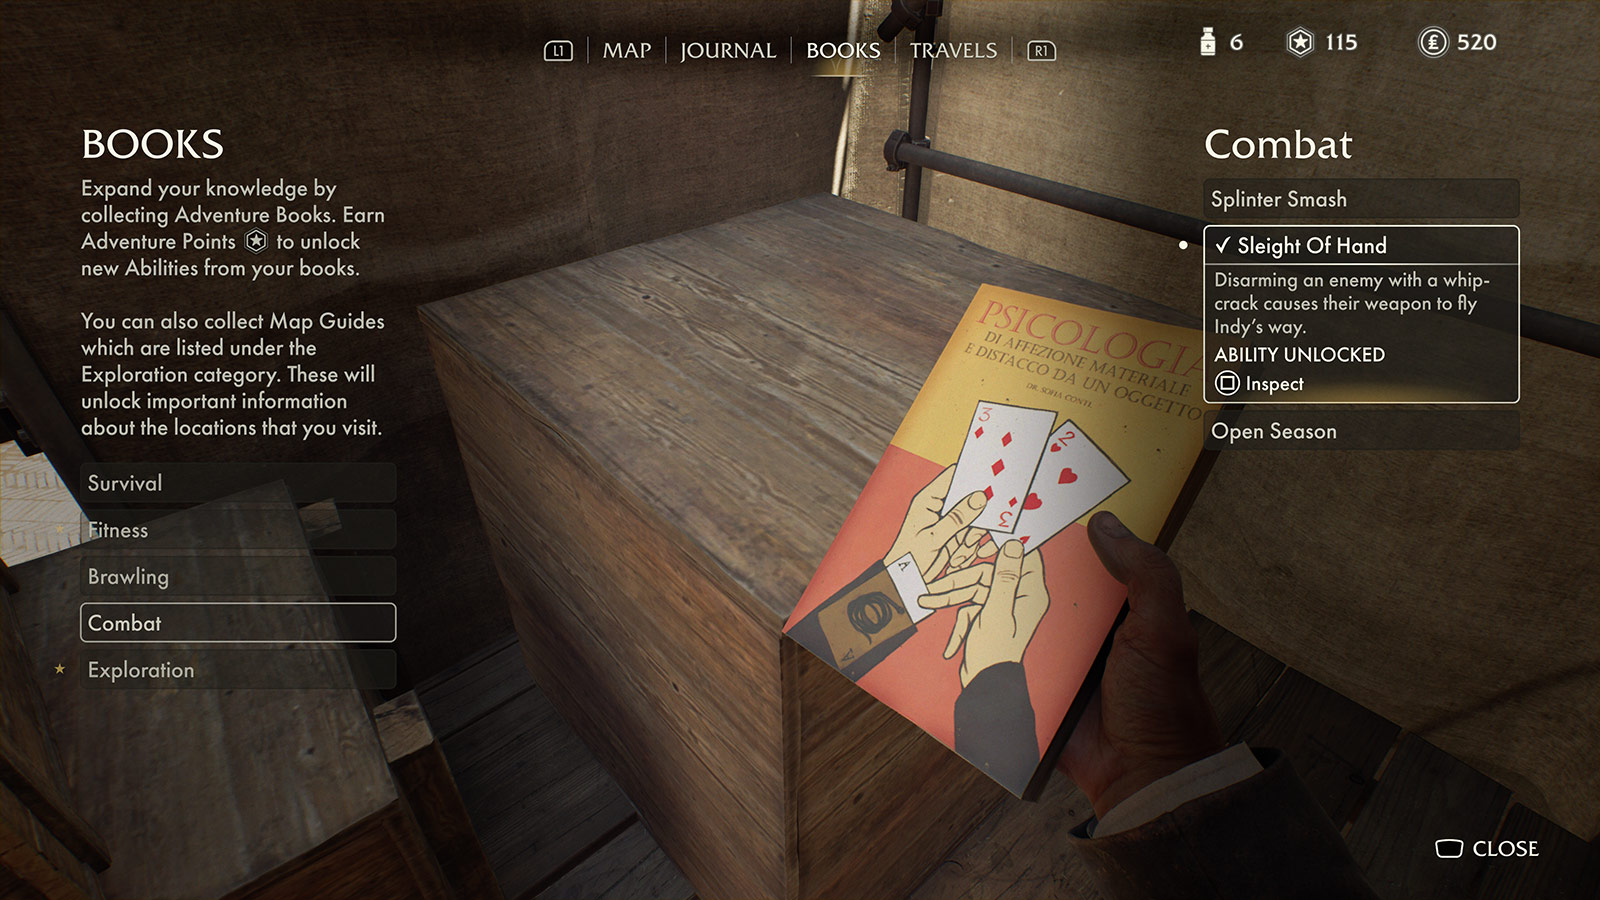 Acquiring and reading Adventure Books boosts combat, survival, brawling, etc.
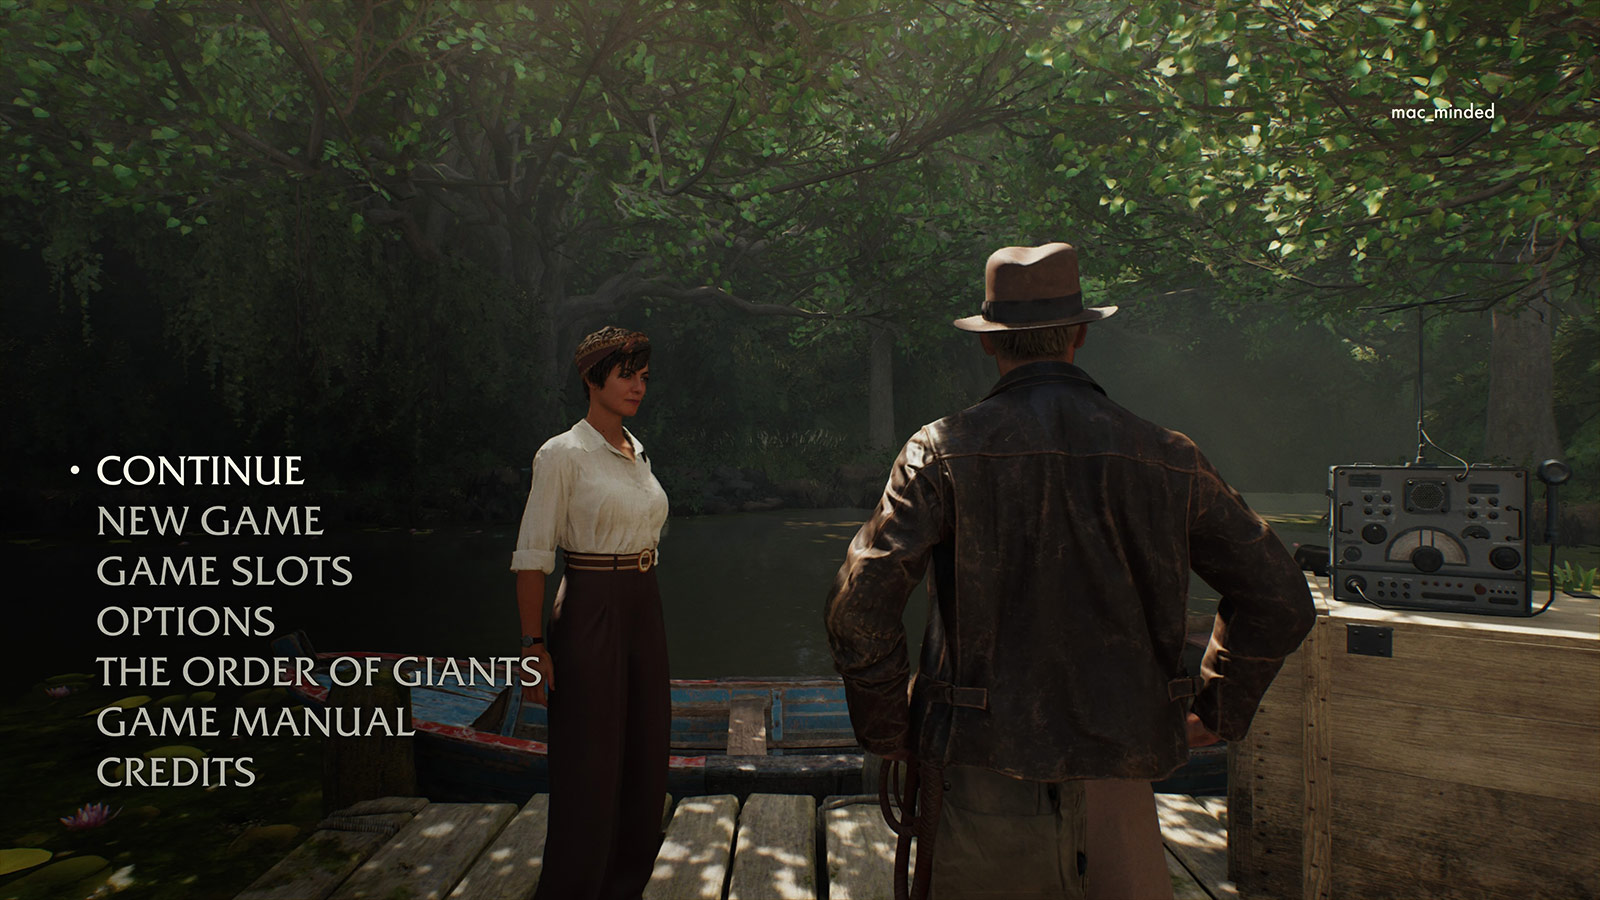 Even the Pause menu looks like it belongs. Also, hey, it’s me: I’m